
This post may contain affiliate links, which means I’ll receive a commission if you purchase through my links, at no extra cost to you. Please read full disclosure for more information.
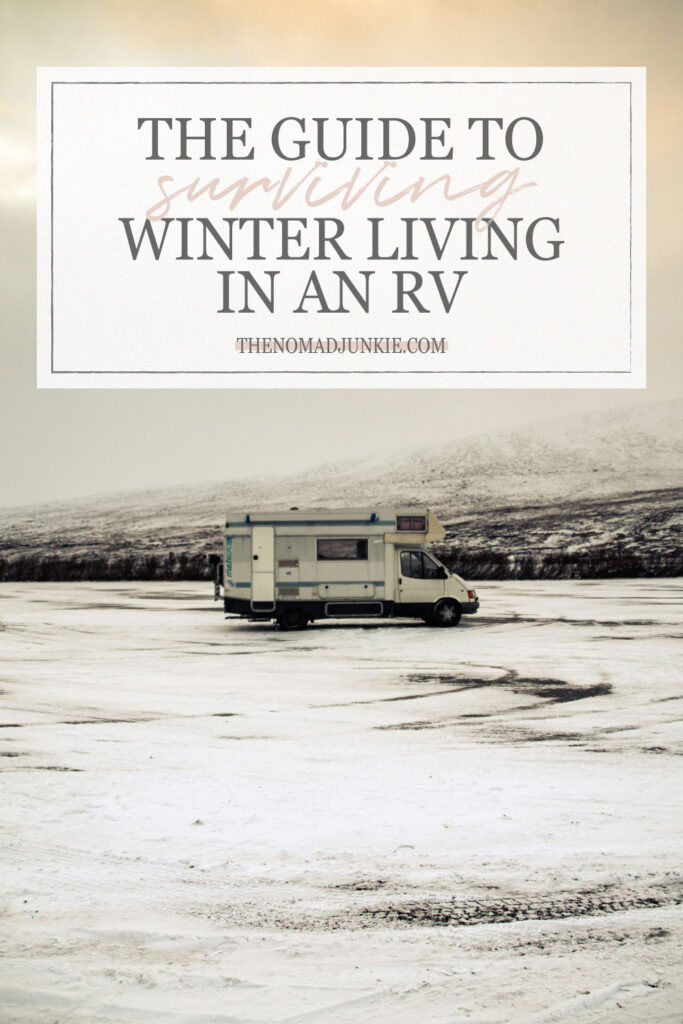
It’s that time coming around the corner where glamping season has come to an end and the start of winter has come upon us.
Now I’m going to be honest here: winter living in a rv freaking sucks!
Mainly because you have to winterize your rv and make sure you insulate the sh*t out of it. It’s EXTREMELY important to have the proper rv gear for the cold season, as doing this will make rv living in winter MUCH more bearable.
We want to make sure your rv camper, as well as you and anyone you live with, are SAFE from frostbite.
Because dealing with anything wrong with your motorhome in the cold temperatures is a NIGHTMARE.
Therefore, here is the guide to surviving winter living in an rv!

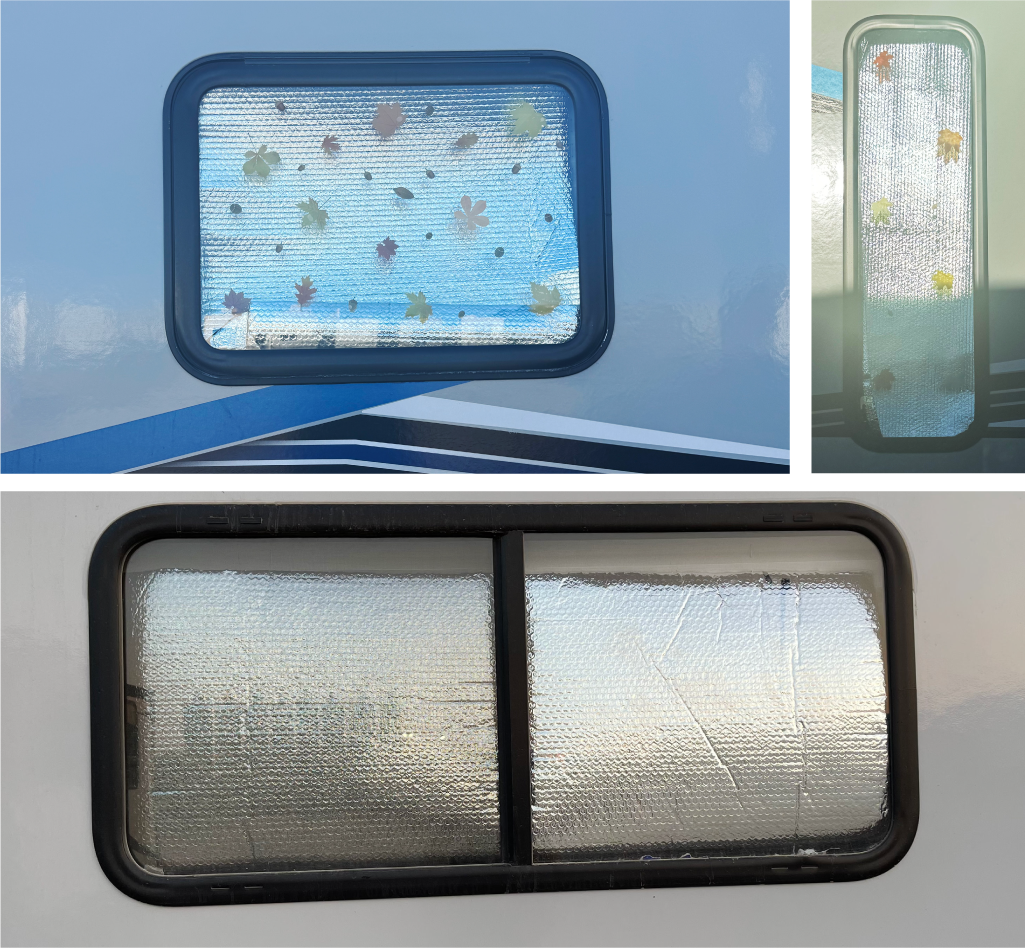
Just like you would insulate your windows to keep the cold air in your camper during the summer, you want to do the same for winter living in your camper.
By doing so, you are trapping the heat inside your camper and keeping yourself toasty throughout the winter.
Pretty simple to insulate your camper.
All you have to do is cut the size of your windows and you are good to go!
Thermal Insulation Roll
This insulation roll is 24’x10 ft and can be cut down to size for any of your needs!

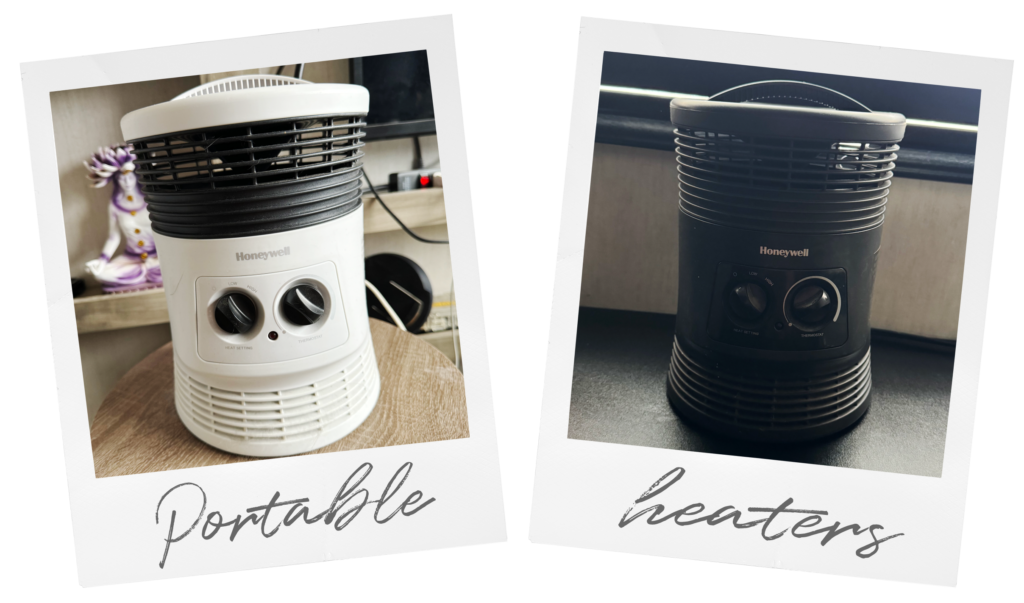
Small, portable heaters will be your BEST friend in a motorhome!
They’re perfect because they are usually meant for small spaces, so a rv camper is perfect for these small heaters.
We have two of the Honeywell 360 heaters that blows out warm air and they have worked really well for our extra bedroom, as well as providing extra heat in other areas of our camper home.
Now, I know everyone has different opinions on heaters and there are definitely ones out there that will generate more heat than these ones. I chose these ones because I have cats and they will DEFINITELY sit in front of heaters.
Ever seen those videos where cats sit in front of the heater and burn their fur off?
Yeah well….
We don’t need that happening to our cats….
So at least with this one, I know that they are safe from getting burned by a heater. And when it comes to kids, I know that these heaters are safe to touch if you have kids that like to get into things.
Plus, they have safety features where if the heater tips over or tips over at an angle, the heater will shut off by itself.
It’s quite simple. There’s just two dials and one control the high/low feature and the other is the amount of heat you want to generate.
We personally have to put ours on low because with the way our camper is set up, it can trip up the switch.
However, it has warmed the back of our camper just fine even on the low setting.
So, play around and see what works for your camper!

We’ve made this mistake before last year because at the time we were staying down in Texas and if you live in the south or have visited the south during the winter, the temperatures really don’t go that low compared to up north.
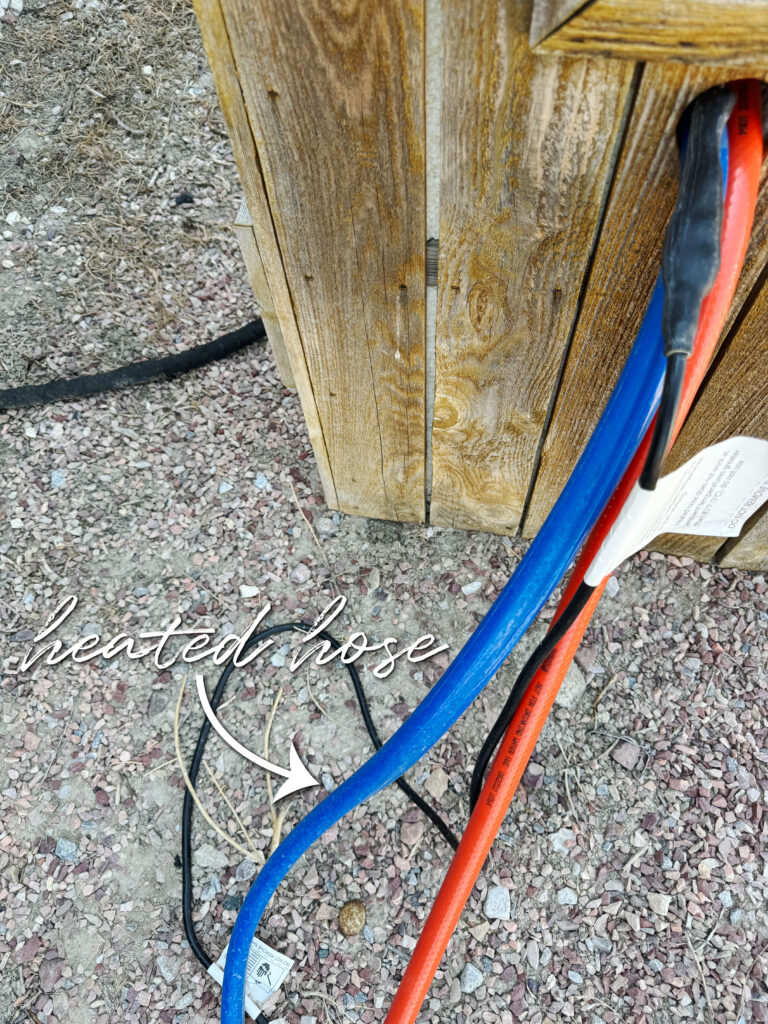
However, we didn’t have a heated hose at the time and I remember freaking out and having to buy insulation tape to wrap up our regular hose (which is another option if you can’t afford a heated hose right now).
It definitely took some time to wrap the hose up and I was just so upset.
My husband was a few hours away for work and this was the first time experiencing our water freezing up, so you can say I was mentally having a hard time.
If you can, please, please, PLEASE, invest into a heated hose.
We use the heated hose all the time now and you can easily use it unplugged when the warm season comes around.
Don’t be like me. Get the heated hose.

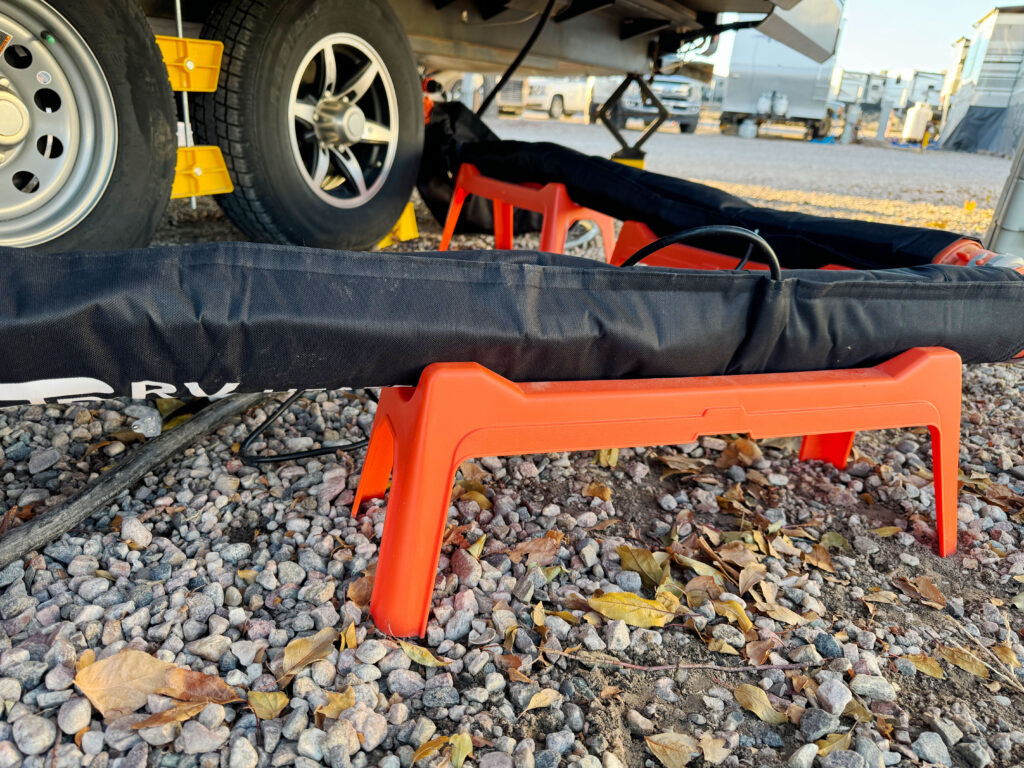
Again, we didn’t have our sewer hose insulated when we experienced winter back in Texas.
It wasn’t too bad with the sewer system, but we got lucky being down south at the time.
Now, we are staying up north for the winter and I just know we’re going to run into some issues with the sewer if we don’t figure it out.
You’ll want to insulate your sewer hose, whether that’s with insulation tape, heated sewer hose cover, or just straight up buying an insulated sewer hose system.
If you decide not to, you won’t be able to flush out the system in cold temperatures and it can wear down your sewer hose with all that ice (and sh*t) built up. In fact, it can actually create cracks in the sewer hose (which is what happened to us) and you’ll end up having to buy a brand-new sewer hose.
We don’t want either of these situations to happen.
The option we did was the heated sewer hose cover, since I was hearing a lot of great things about the hose covers.
I’ve talked to someone who is a professional with rvs and they were the ones that recommended the heated sleeve was the best choice.
Insulation tape isn’t always guaranteed for temperatures below zero and they said sewer hoses aren’t bad, but sometimes the quality of them may not last very long.
This is just what I heard from a professional, but I still encourage readers to do what’s best for them!
These heated sleeves aren’t too difficult to wrap around your sewer hose. It is thick (as it should be for dealing with cold temperatures), but it’s velcro. So you shouldn’t have too many problems wrapping with these sleeves.
Just remember that since this sleeve is embedded with wires, that you don’t have any damaged, cracks, or cuts in your sewer hose to prevent leaking into the sleeve.
Also, make sure you have the right length!
For us, we had to buy two because we have two separate tanks for our camper home, but for some, you may only need one if you only have one connection to your sewer tank.
We haven’t hit the super cold temperatures where I’m at currently, so I haven’t gotten to plug this heated sleeve in. I’ve seen people wrap the entire hose up with the sleeve, but considering the sewer system is super close to our camper this time, I didn’t have to stretch out the sewer hoses all the way.
I ended up rolling the extra sleeve underneath the camper. I personally don’t think this will affect the heating of the sleeve and it’s rolling up where our rv skirting will be, so it should be protected by the snow.
You do what’s best for your camper!

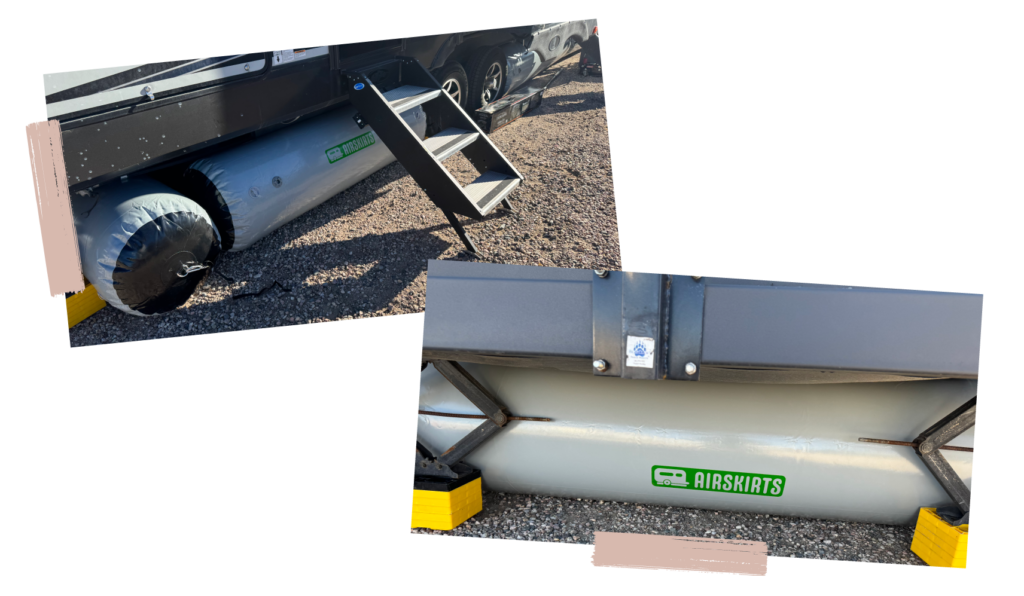
This is probably going to be the most annoying feature of winter living in a rv (or at least, it was with us).
You’ll want to insulate the bottom of your camper to protect the water system. Not doing this can cause damage to your water system, which is a price I’m sure none of us want to pay.
I’ve seen people use the following for rv skirting: foam board, wood boards, or tarp.
Last year, my husband tried to use form and pipe to build skirting around our camper aaaaand it didn’t go too well.
I’m not sure if he did it wrong or what (he built it off some Youtube video), but it didn’t work well and one windy day, it took out the foam boards.
After that, my husband didn’t want to build skirting ever again.
Now, if you can figure it out, you can DIY it yourself or have other places, like Camping World, do it for you.
I believe when I asked for a quote, it was around $1,700 for our 33ft camper.
Again, that’s up to you if you want to have someone do it for you.
What we ended up doing was buying the rv inflatable skirting that Camping World offers.
And I want to be honest with you guys because honesty is what is most important to me.
This is definitely the most expensive option for rv skirting.
At first, my husband really wasn’t wanting to go with this option; however, he got reaaaally pissed off trying to DIY our rv skirting and neither of us want to deal with the headache that happened the first time.
Also, we are looking into another camper in the future and since we will be continuing rv living, we knew we could take these rv inflatable skirtings to our next camper and NEVER have to skirt a rv again (hallelujah).
So, depending on how long you plan to live the rv lifestyle and whether you are physically able to DIY your rv skirting, or maybe you just don’t have the patience or drive to do it yourself, maybe look into this option as well!
Just make sure you get the right length!
I know the pricing of these aren’t something that everyone can just afford, but I still wanted to showcase what we are using for skirting.
Again, it’s convenient to us since we want to get a new camper in the future, so the investment is worth it!
This website is a participant in the Amazon Services LLC Associates Program, an affiliate advertising program designed to provide a means for sites to earn advertising fees by advertising and linking to amazon.com.
Copyright © 2023 The Nomad Junkie | All Rights Reserved

