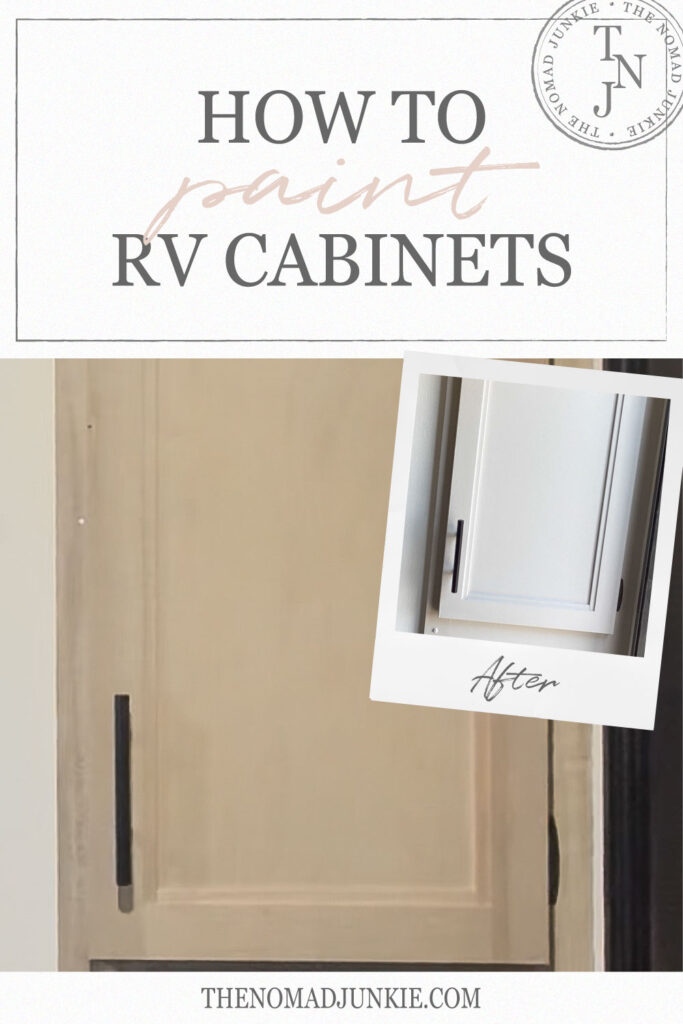
Painting your rv cabinets can be one of the most cost-efficient ways to spruce up your rv home.
Quite honestly, the process of painting your cabinets isn’t as hard as it seems. The most important steps when it comes to painting your cabinets is making sure everything is prepped before diving into the actual painting process!
Of course, we want the paint on your cabinets to last no matter what kind of rv camper you’re in!
I would also like to point out that solid wood cabinets take paint better than laminate or faux wood cabinets.
We, unfortunately, were not blessed with solid wood cabinets in our camper home and have to deal with laminated, cheap plywood.
However, this process still works even with laminated or faux wood cabinets and honestly, our painted cabinets are still holding up beautifully!
So, let’s talk about how to paint rv cabinets!
First, lightly sand your cabinets
I have heard many people skip this step and I, personally, never want to take that chance when it comes to prepping your rv cabinets.
In fact, most professionals will usually recommend lightly sanding your cabinets if you plan on painting them yourself because sanding will help the primer stick better.
Now, this can also depend on what kind of primer you used. For the most part, a good, quality primer can do the trick anyways.
I use the same sander as I did with the rv walls which is usually a 100-220 grit sander. You don’t need something too coarse for your cabinets.
You just need enough to make a light sanding for the primer!
Wipe down with TSP
Let’s be for real: cabinets get really dirty really quickly, especially in the kitchen area!
Just like the rv walls, you’ll want to wipe down your cabinets with TSP which is basically a heavy-duty solution that helps wipe grease off.
I personally used TSP substitute since I know some TSP products can come with a heavy fragrance to them and might require you to open some windows for better ventilation.
All you really need to do is mixed it with water according to the instructions and a sponge to wipe down your cabinets.
Afterwards, get a damp (not soaking wet) cloth and wipe down your cabinets once more! Allow the cabinets to fully dry (or you can wipe it dry if you want) before going onto the next step!
Prime your cabinets!
Now you’ll be getting to the most important step: which will be priming your cabinets with a QUALITY primer.
I was able to use the same primer as I did with the walls which was the Behr Multi-Surface primer, but you can use any primer as long as it’s a BONDING primer.
I personally like to go over with two coats of primer, but sometimes, people can get away with just one coat depending on the primer and the quality of their cabinets.
Since I was working with laminated cabinets, I wanted to make sure the paint would really stick on well!
You will have to decide what you choose to do personally!
Now the best part, painting your cabinets!
Now we can get on with the painting process!
Of course, the kind of painting is going to be completely up to you.
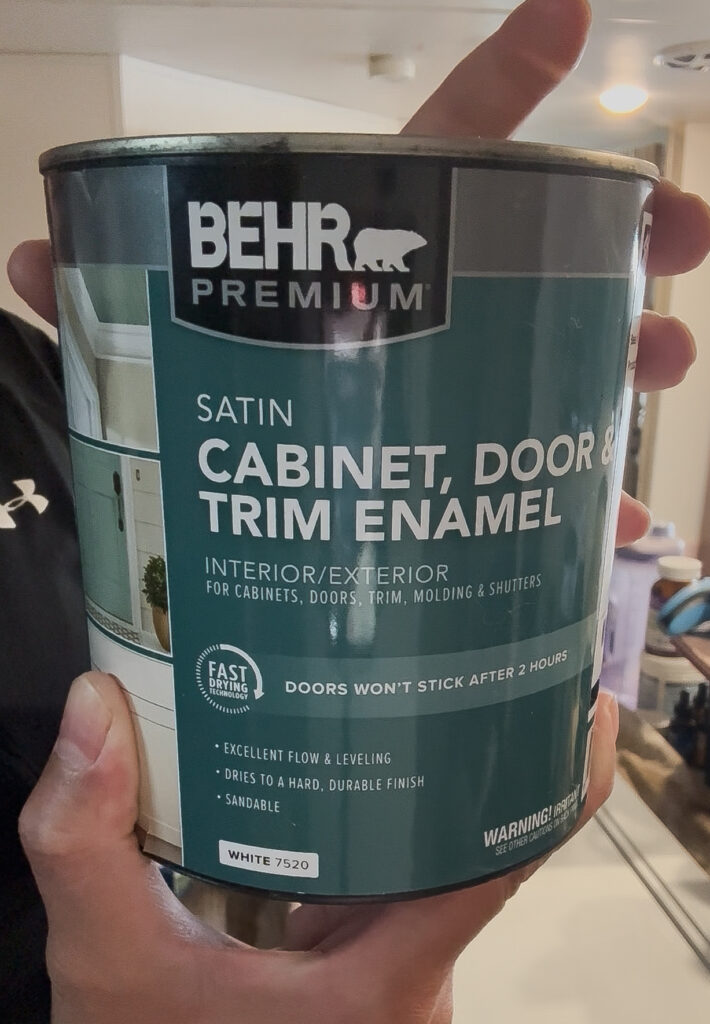
There’s all kind of different kinds of paints in different types of textures: such as semi-gloss, satin, and just gloss.
Here’s the breakdown for each type of paint:
-Semi-gloss: A very popular and with high durability. Not only is it stain-resistant, but it’s easy clean up as well! Also, it’s good to note that the semi-gloss does reflect light, so if you like that, this might be a good choice for you!
I personally didn’t want anything gloss because like I mentioned before, our cabinets were not real wood and I didn’t want any imperfections from the lamination to show through.
-Satin: A good choice to hide imperfections and comes with a soft sheen to it. It has good durability as well and this is the kind I use personally for our cabinets and have had no issues wiping it down!
If you don’t care for a shiny look to your cabinets, this type of paint would be a good choice for you!
-Gloss: This type will be very reflective and WILL make your colors very bold! If you want dark colors to stand out, this can be a great choice for you. Do keep in mind that it doesn’t kind imperfections as well.
So, you may find yourself cleaning it more often from finger prints and dust!
IMPORTANT TO NOTE: You’ll want to make sure that the paint you use is specifically for cabinets! Avoid anything eggshell or matte because it WILL scuff and the paint isn’t as washable!
I have heard alkyd enamel paint might be good for cabinets as well, but I have personally never used it. It applies like a water-based paint, but dries to finish of an oil paint.
However, if you go this route, you WILL need to open windows, because this paint can be harmful when not proper ventilated.
You also have to dispose of it properly, so I highly recommend doing your research if you ever go this route!
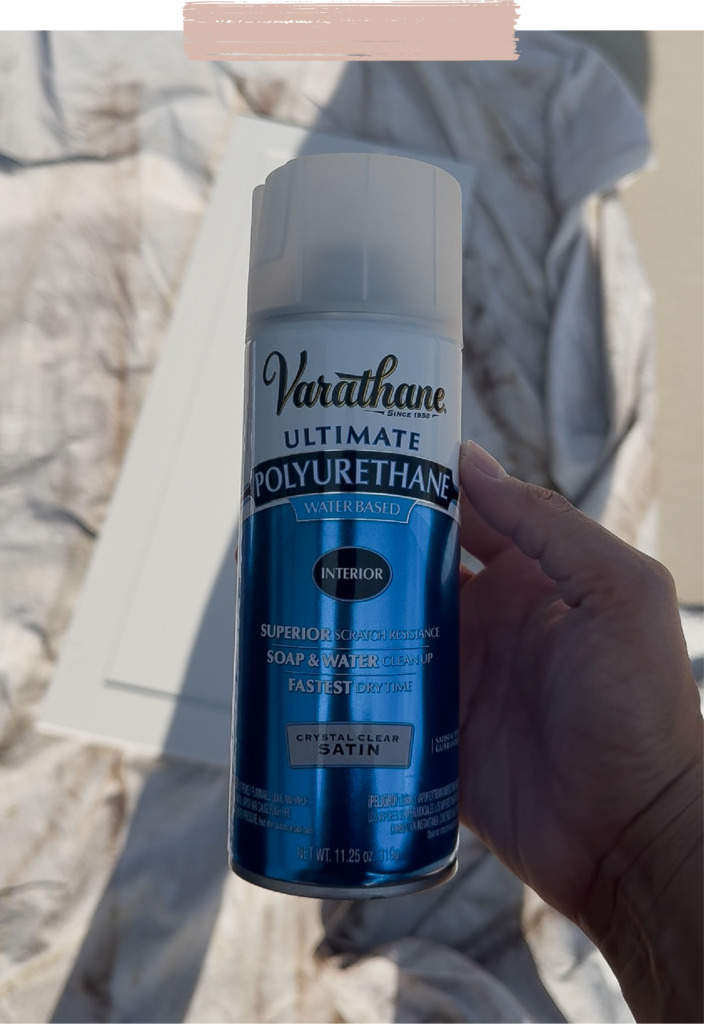
Lastly, seal your cabinets
You want to make sure the color and quality lasts, so I highly recommend you finish your rv cabinets off with some kind of seal, whether you use a paint can seal or a spray seal.
I personally like to keep the type of seal similar with the paint I use, since I don’t know what happens if you mix up the types of seals.
So, for example, since I use satin on my cabinets, I seal with a satin spray seal.
I personally recommend when you seal the color on your rv cabinets, stick with:
Semi-gloss paint → semi-gloss seal
Gloss paint → gloss seal
Your other option is to do the paint can version of a seal, but again, I highly recommend doing your research and deciding based off of your preference. I just like the spray since I’m already dealing with so many paint cans already.
Again, just MY personal preference!
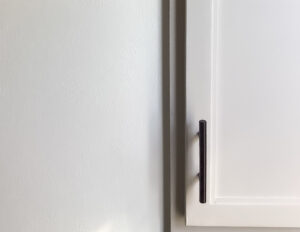
Either way, you’ll want to seal your work when you’re all done with it, so that the paint on your rv cabinets is long-lasting!
I’m a digital nomad who lives the RV lifestyle full-time with my husband! I give advice on the nomadic lifestyle and take you along on my adventures!