This post may contain affiliate links, which means I’ll receive a commission if you purchase through my links, at no extra cost to you. Please read full disclosure for more information.
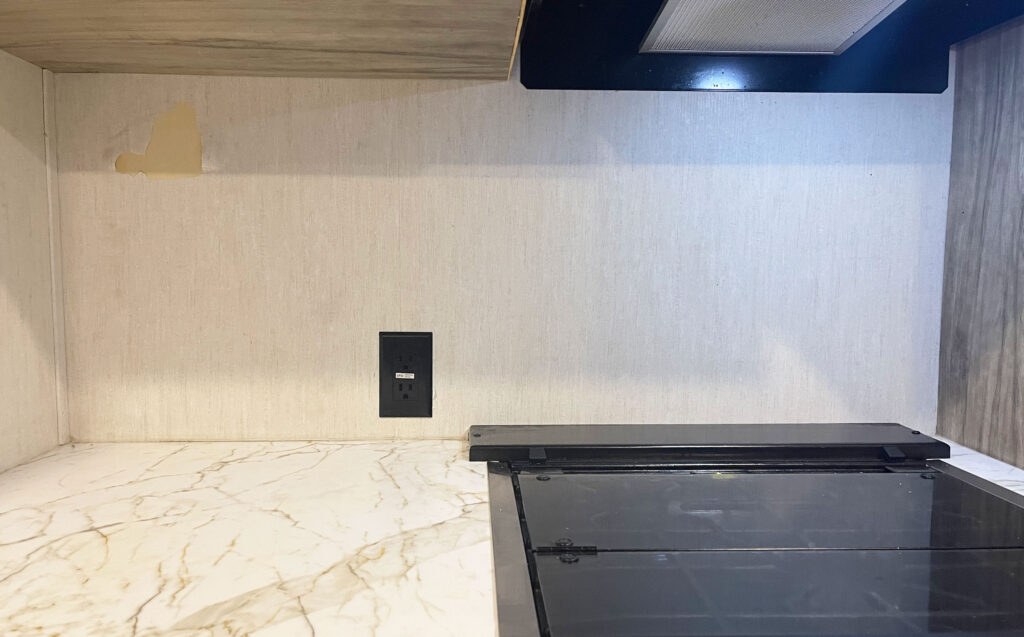
I was a little bummed when the wallpaper of our kitchen started to peel off after trying to stick an adhesive paper towel holder on it. I wasn’t expecting this considering our rv camper wasn’t even a year old yet, but luckily for me, I’m a great problem solver and decided to make our rv kitchen my little project.
I began searching online for my options for our rv renovation and found a really neat rv product that I just felt would make our rv home feel truly like a home.
The process took some time and for me, once I start something, I just KNOW I need to finish it as soon as possible.
So quite honestly, this project took me all night.
However, it was WORTH it.
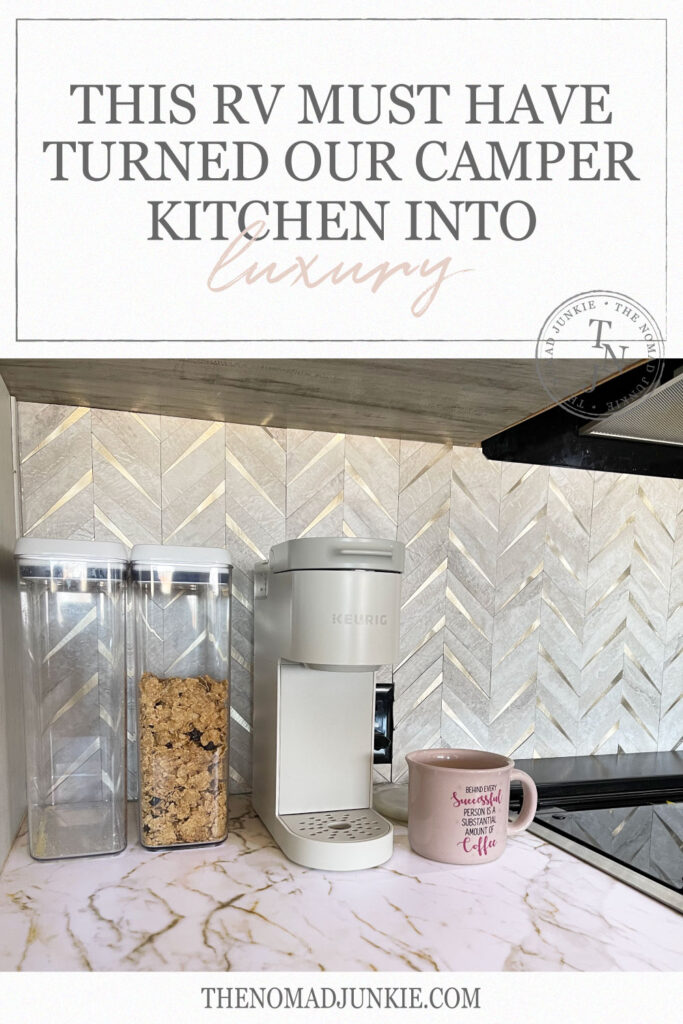
This rv must have was very cost efficient and CHANGED the GAME on our camper’s kitchen design!
Learn more about the rv must have that turned our camper kitchen design into luxury!

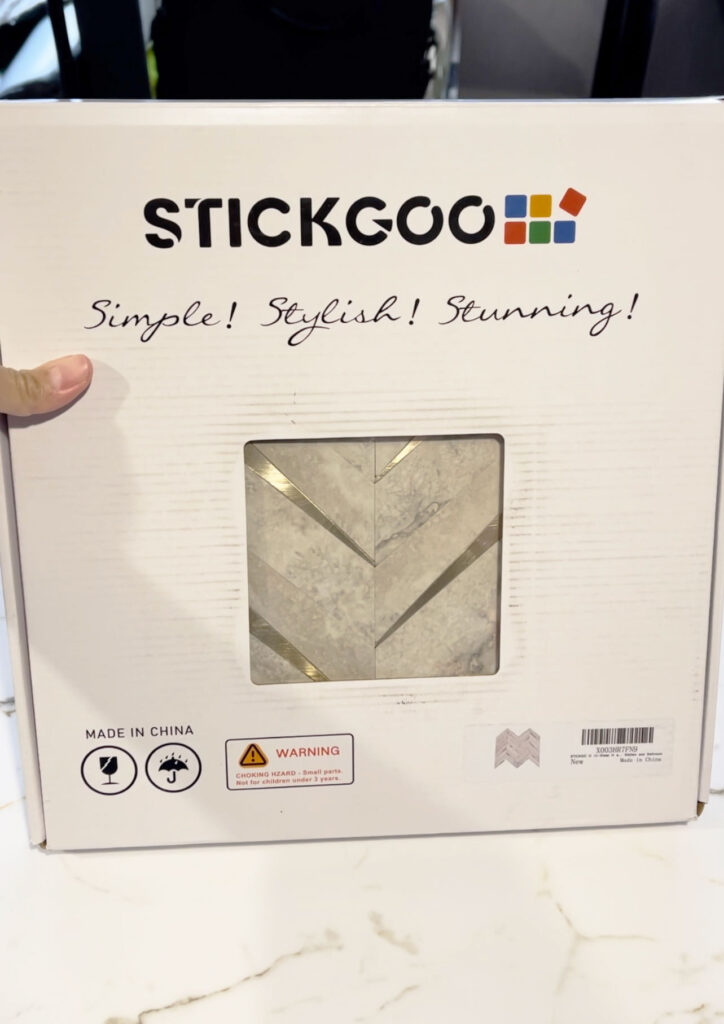
This backsplash came across my Amazon that I figured would look great with our calacatta marble countertops.
This rv product is adhesive, so if you ever decide you want to change the backsplash in the future or just want to take it off in general, you will be able to still do that!
I found that the color beige mixed with metal gold was a great fit for our kitchen since our appliances were a neutral and white color. We still have our beige wallpaper in our camper which we aren’t sure if we will one day replace.
This style of the product comes in the colors as listed below according to Amazon:
-Faux wood mixed gold
-White marble
-White marble mixed gold
-Beige mixed metal gold
-Calacatta marble mixed light gold
-Marble grey
-White birch
-White marble mixed silver
Again, we chose the beige since it also matched the walls and we wanted our appliances to pop out from the color, as well as our countertops, but feel free to choose your own color!
This brand also came with other shapes of backsplash as well, so check them out and see what is your style!

At first, I had to use a paint stripper to strip off the wallpaper, which my husband was able to get at a local Walmart. I’m sure you can also get this at any hardware store around you as well!
This Klean Strip Premium Stripper did just the trick.
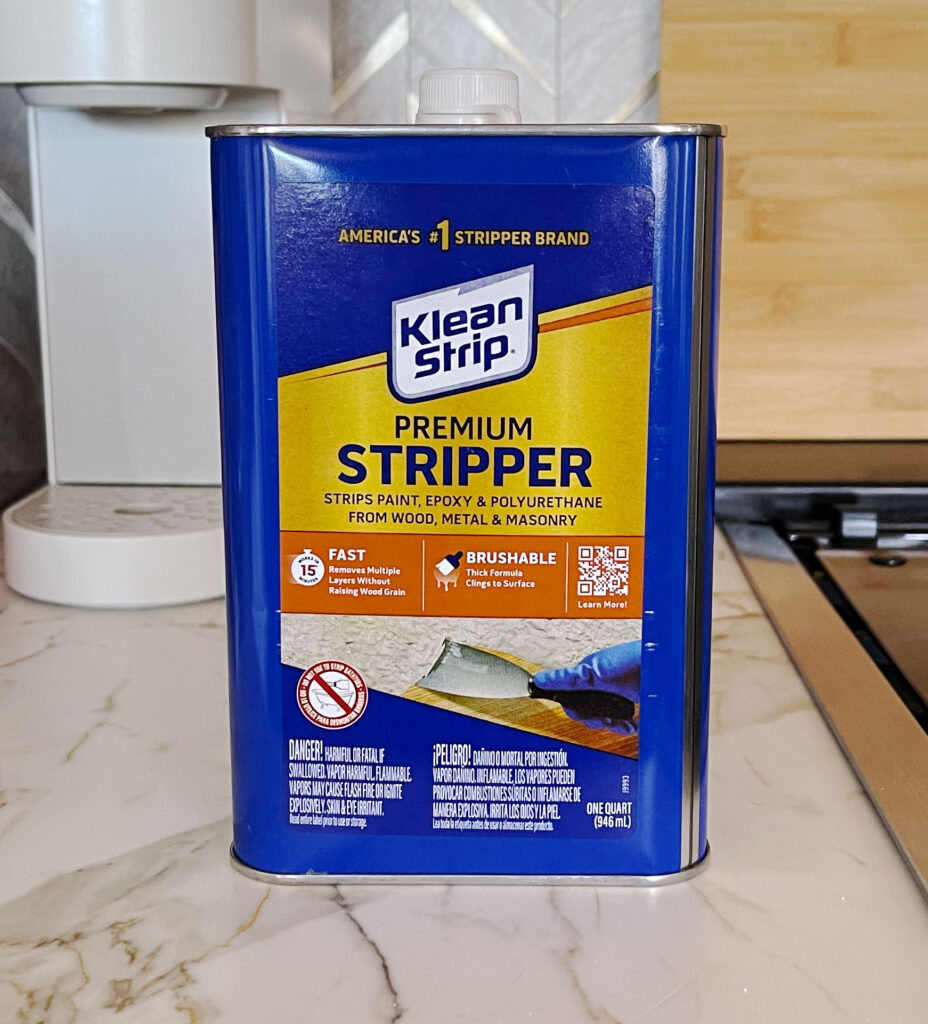
Please remember: open your camper windows since the fumes can get pretty strong!
My husband also ended up getting a scraper which I actually didn’t need because after letting the stripper settle for fifteen minutes, the wallpaper easily came right off!
You will need a brush, as well as some gloves, which the backsplash does provide some cloth gloves if you want to use them.
If not, you will have to buy some thicker gloves.
First, I used a bowl to pour the stripper product into. It says to use a metal bowl, but honestly, I just got a 50-cent bowl from Walmart and wrapped it in aluminum foil, which held the liquid just fine! That way, I was able to just toss out the bowl.
You could probably do the same thing with a plastic bowl as well!
Note: if paint stripper is too strong for you, you can try the water and vinegar trick or even fabric softener with water mixed in! Put the mixtures in a spray bottle and soak your wallpaper with it!
Next, I took my brush and tested a small piece of the wallpaper first before soaking the rest of my wallpaper, just because I wasn’t sure what would be behind this wallpaper.
This product takes about fifteen minutes to work its magic, so be aware that this project isn’t a quick one to do!
After finding out that the wallpaper peeled off no problem, I soaked the rest of the wallpaper.
Please note: we had to unscrew the kitchen hood to get behind it, so be mindful of how your camper kitchen is.
I didn’t have enough sheets to do the entire back of the hood, but just enough where it looks like the backsplash is covering the back wall.
I personally will leave it like this.
After stripping the wallpaper, all I really had to do was start sticking the adhesive backsplash onto the back wall.
You will want a very sharp utility knife to cut your backsplash as needed. I also used a ruler to measure out how much I needed to cut down according to my back wall.
You will also want a pencil to make a straight line and have some sort of indication of where you are cutting.
Now, I personally felt like the shape was a little tricky to cut, especially cutting through the metal portion of the product. Since I bought the beige with metal gold, I felt like the gold portion was the only thing that made this product a bit of an annoyance, especially when it came to my corners.
Like I said, the utility knife did make it easy where I could, at the very least, cut deeply enough to cleanly snap the metal parts as needed.
I felt like I got lost on the way when it came to cutting the edges of the backsplash to made the backsplash blend seamlessly, so I probably did accidently waste some of the backsplash.
So be mindful of this and keep track of where you are at.
I also forget that the backsplash does allow you to work in sections because of the folds and that includes the metal portions themselves. They will snap right off with a small amount of pressure.
I don’t think I really realized this until I was already more than halfway done. My edges probably would have looked a bit cleaner if I had worked in smaller sections.
However, I figured I let you know so that yours turns out better than mine.
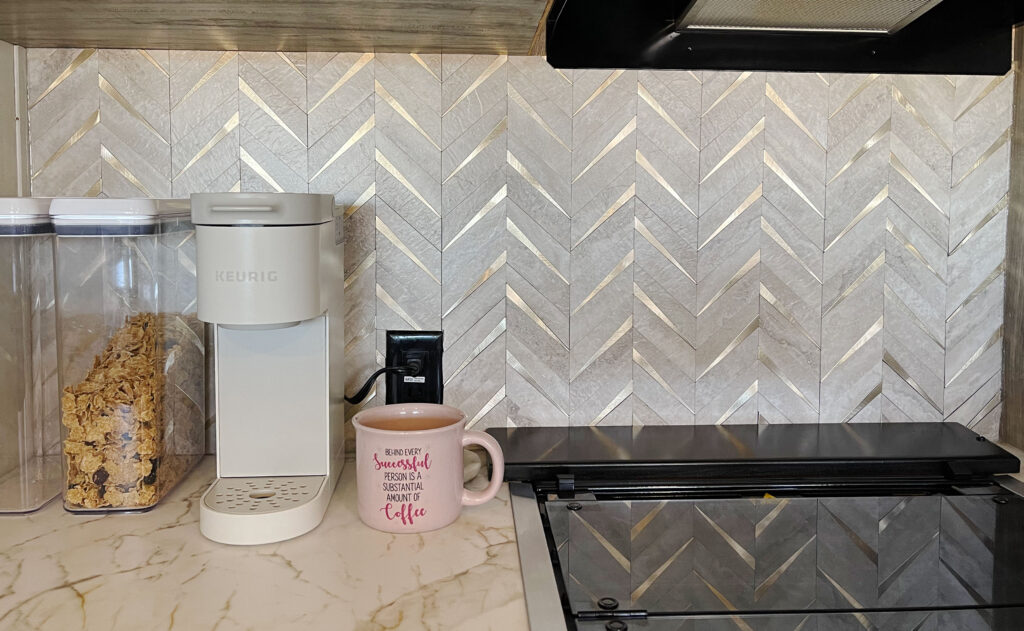
In the end, I do feel satisfied with the way our kitchen turned out.
It really did turn our camper’s kitchen design into luxury!
Overall, I’m still giving this rv must have a 10/10!
This website is a participant in the Amazon Services LLC Associates Program, an affiliate advertising program designed to provide a means for sites to earn advertising fees by advertising and linking to amazon.com.
Copyright © 2023 The Nomad Junkie | All Rights Reserved
